1. Meal Prep Taco Salad Lunch Bowls
Meal Prep Taco Salad Lunch BowlsMeal Prep Taco Salad Lunch Bowls that you can make ahead! These easy taco salads are filled with taco beef, lettuce, cheese, black beans, corn and salsa!

To start, you’ll cook the taco meat. This time I used ground beef, but often I’ll use ground turkey. I always use my easy homemade taco seasoning to season my taco meat. Make a batch and keep it in a zip-top baggie with your other spices so you’ll have it ready whenever you need it!
Once the meat is cooked through you’ll want to let it cool before adding it to your salads. While it cools, you can prep the rest of the ingredients and assemble the salads, adding the cooled taco meat last.
To keep the salad components separate until you’re ready to eat them, you’ll want to add them to your container in rows, as you see pictured. I tilted my containers a little to the right, and layered from right to left, starting with the lettuce.
The last thing I added to my salads was a spoonful of salsa, which will become your salad dressing. When you’re ready to eat your salad, give it a shake or a stir to mix everything together and enjoy!
Prep Time15 mins
Cook Time10 mins
Total Time25 mins
Servings 4 salads
Ingredients
- 1 pound lean ground beef or ground turkey
- salt & pepper
- 2 tablespoons homemade taco seasoning
- ½ cup water
- 6 cups romaine lettuce chopped
- 15 ounce can black beans rinsed and drained
- 15 ounce can corn drained
- 1 cup cherry tomatoes
- 1 cup grated cheddar and/or jack cheese
- 1 cup salsa
Instructions
- Heat a large skillet over medium heat. Add ground beef and sprinkle with salt and pepper. Cook, breaking up the meat, until beef is browned, about 5 minutes. Add the taco seasoning and water and reduce heat to a low simmer. Cook, stirring occasionally, until liquid is mostly gone and meat is cooked through, about 5 minutes. Set aside to cool.
- Assemble the salads: Divide lettuce between 4 storage containers, pushing it to the right side of the container. Holding the container so that it tilts to the right, place the beans and corn next to the lettuce. Once the meat is completely cooled, carefully spoon it into the left side of each container.
- Add tomatoes on top of the beans and corn, and sprinkle the cheese across the top of the lunch bowls.
- Add ¼ cup salsa on top of the taco meat. Seal each container with a lid and store in the refrigerator for up to 3 days.
- When ready to eat, shake or stir to combine and enjoy!
2. Chickpea Shawarma Sandwich
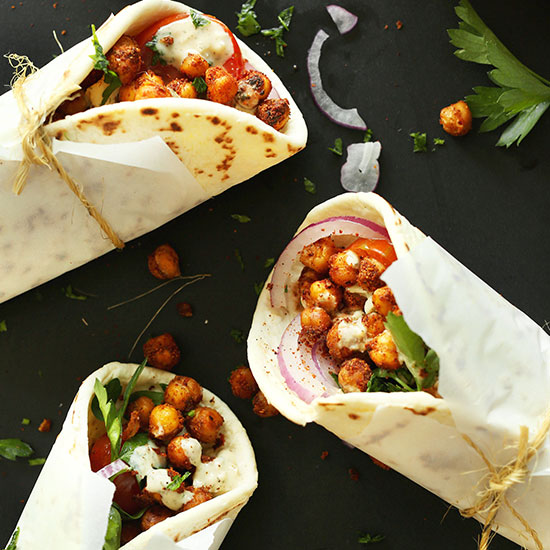
Amazing, 30-minute Chickpea Shawarma Sandwich with spicy baked chickpeas, a creamy Garlic Dill sauce, and lots of fresh vegetables. A healthy, quick, and satisfying plant-based meal!


