The Best Super Chocolate for Valentine Day
- Valentine Strawberries


Valentine Strawberries
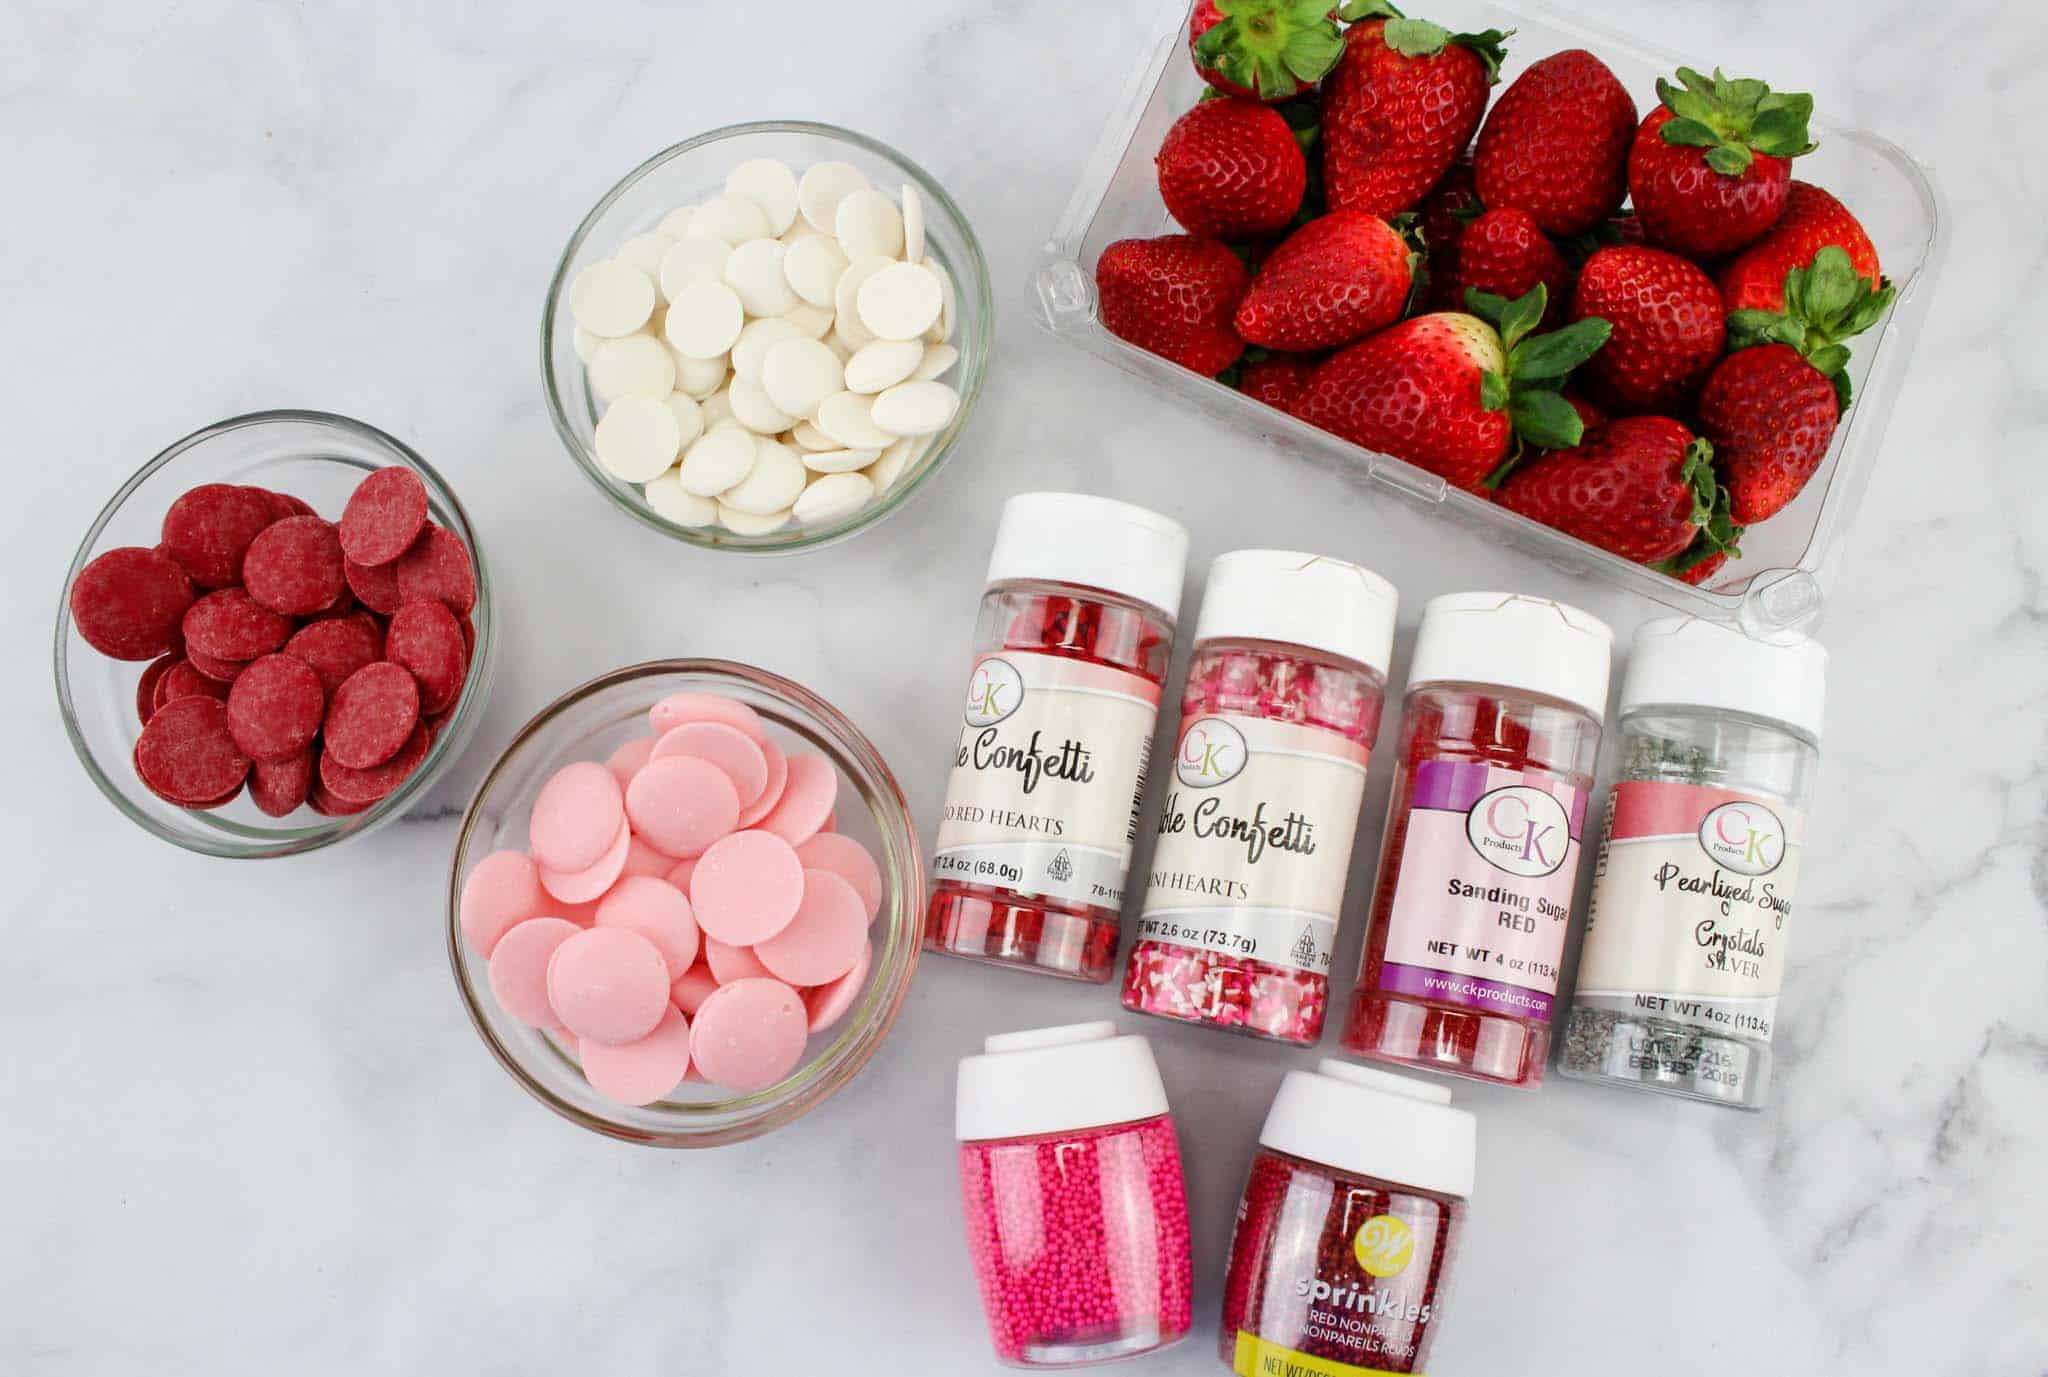
Ingredients
- Strawberries
- Red, White, & Pink Candy Melts
- Valentine Assorted Sprinkles
Instructions
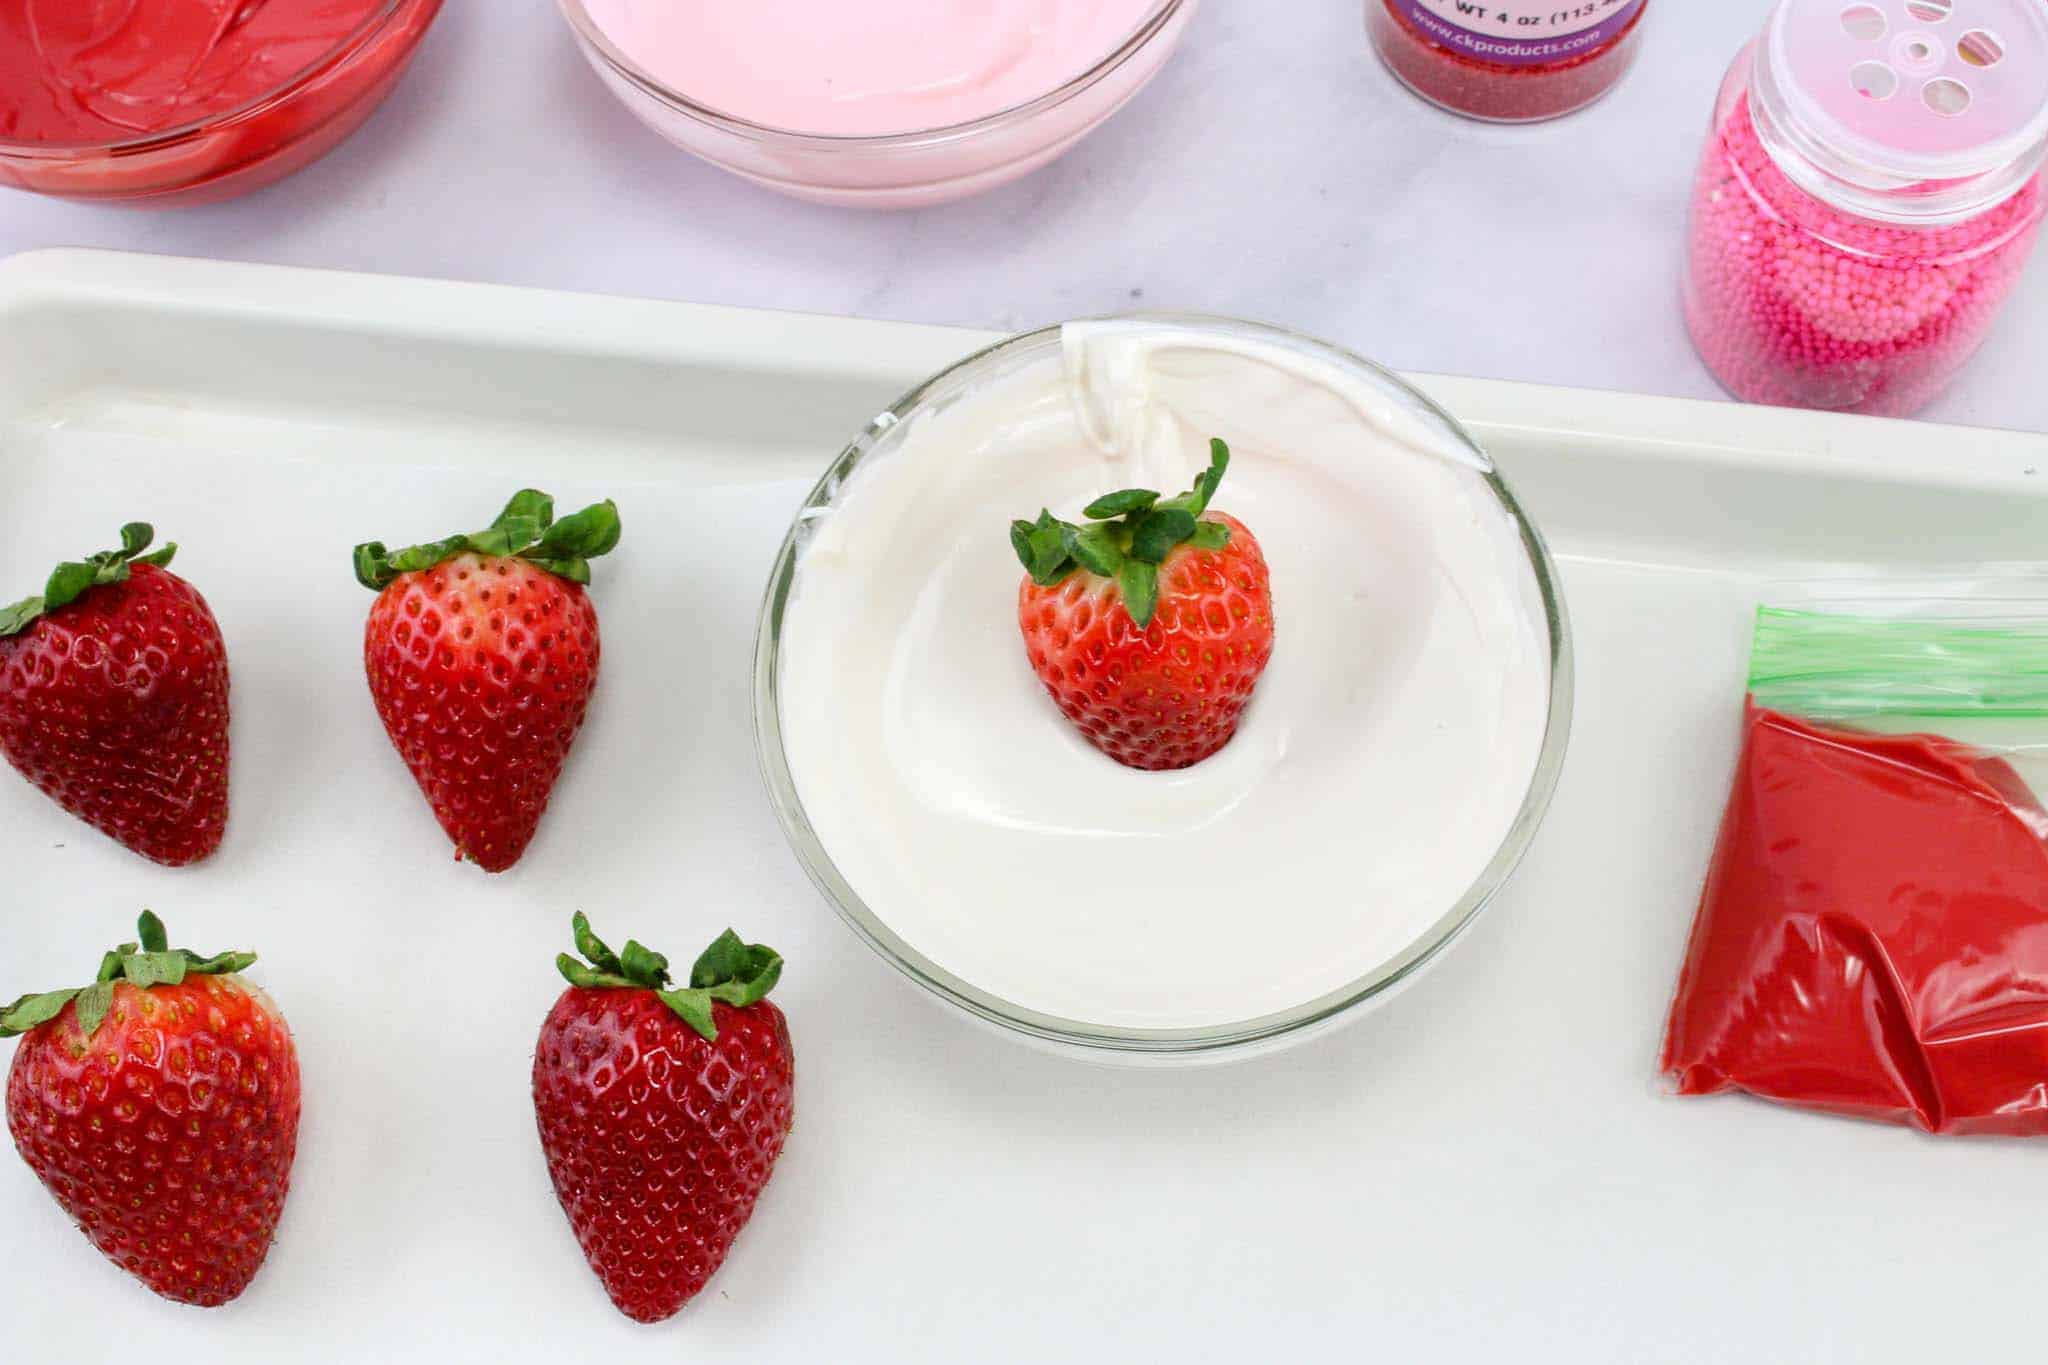
Rinse and dry strawberries.
Melt Chocolate according to package directions. (Melt each chocolate one at a time in the microwave, not all three bowls together).
Dip each strawberry into the different color of chocolates.
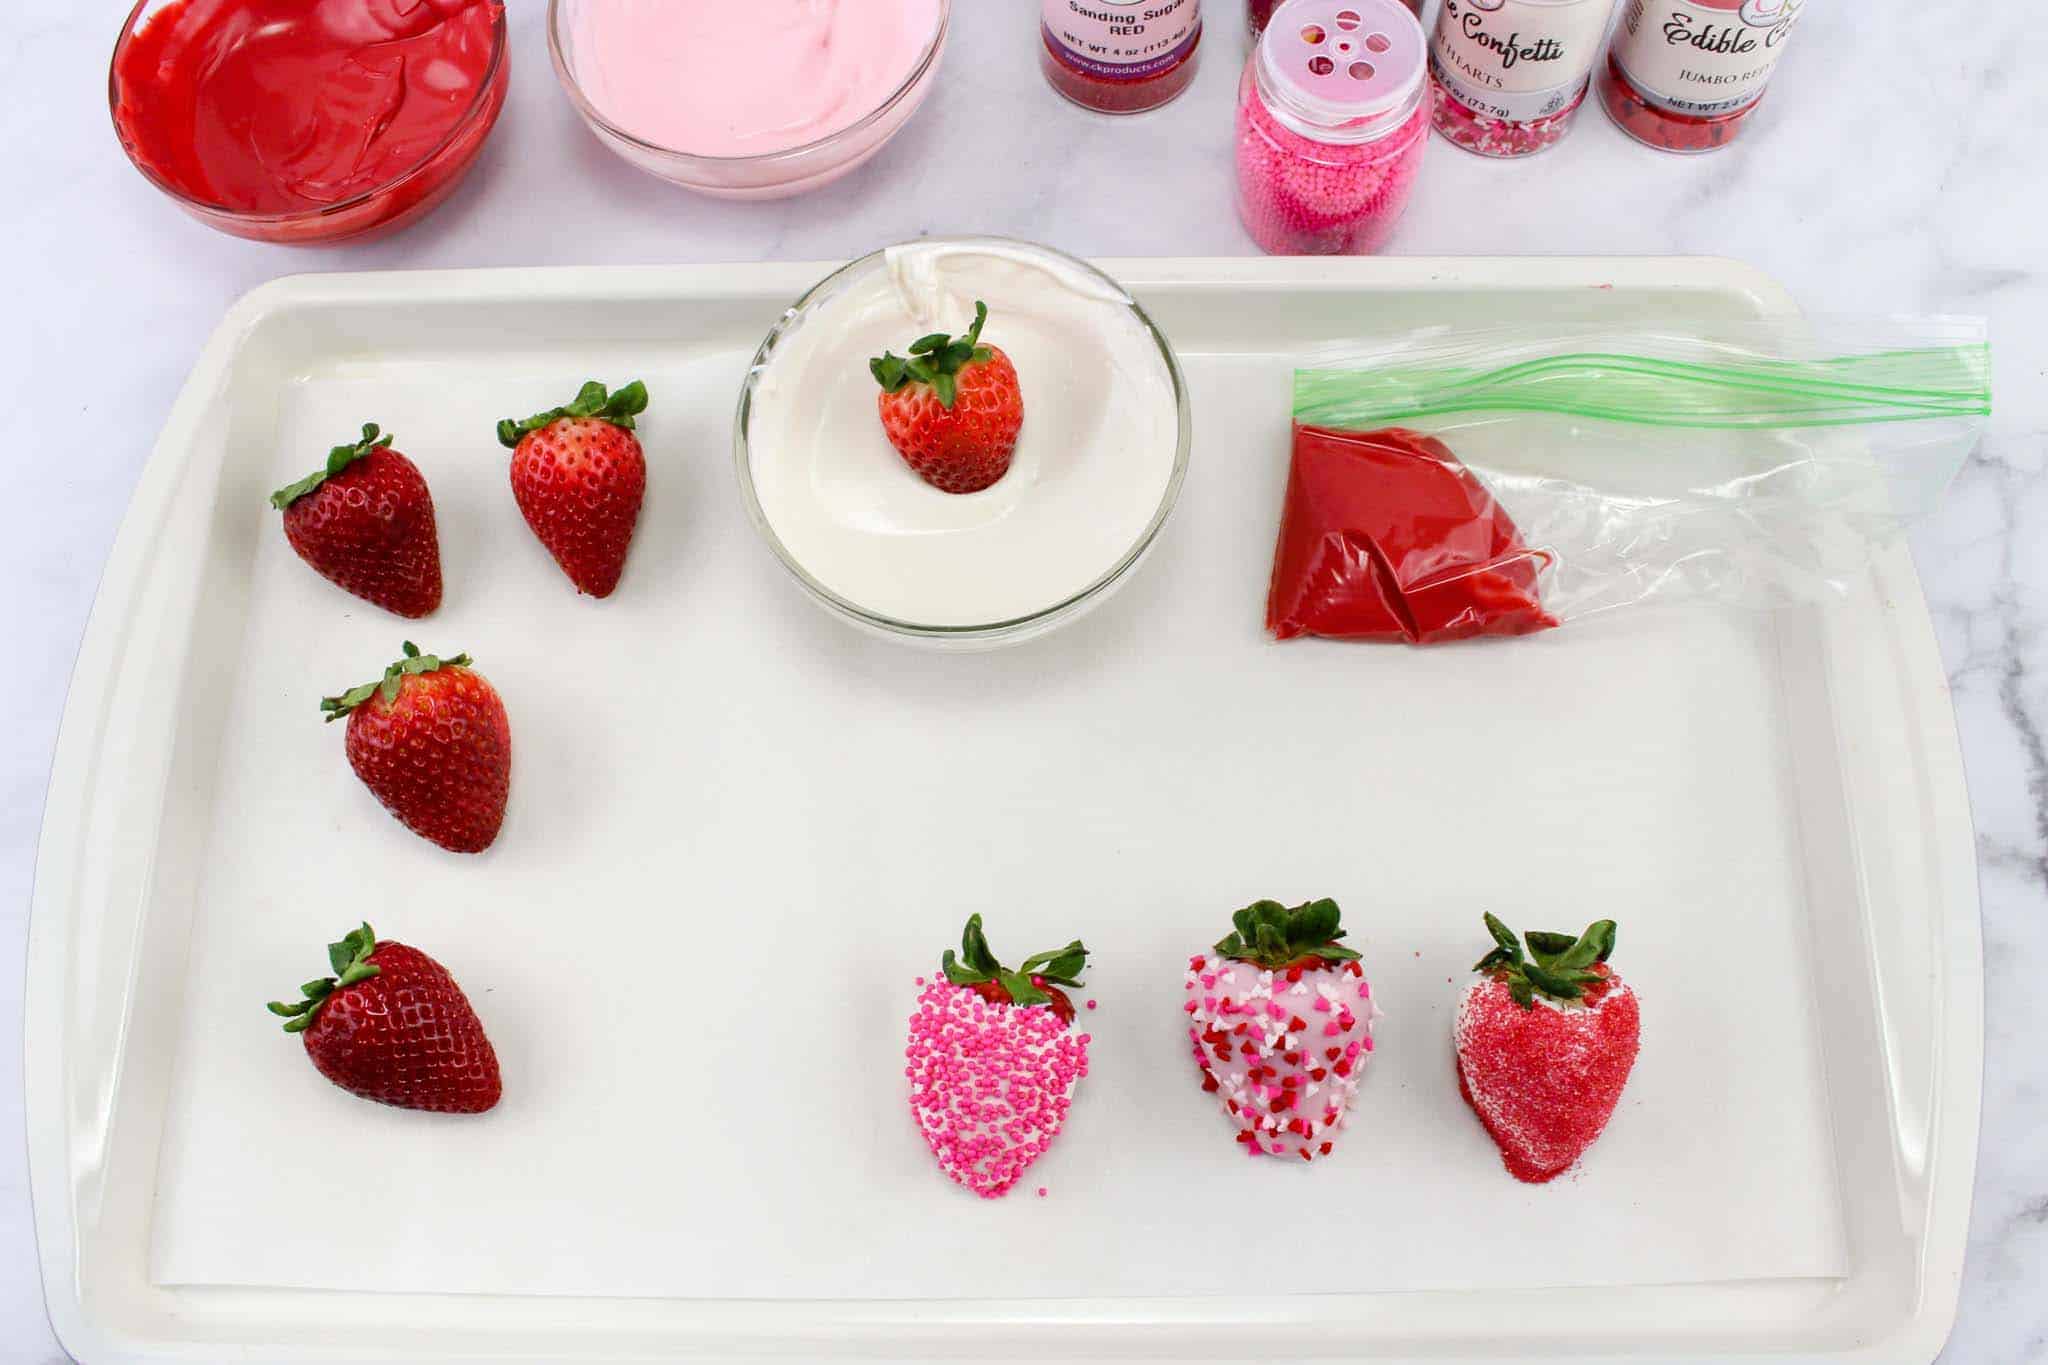
Place on a parchment lined baking sheet and immediately add the sprinkles.
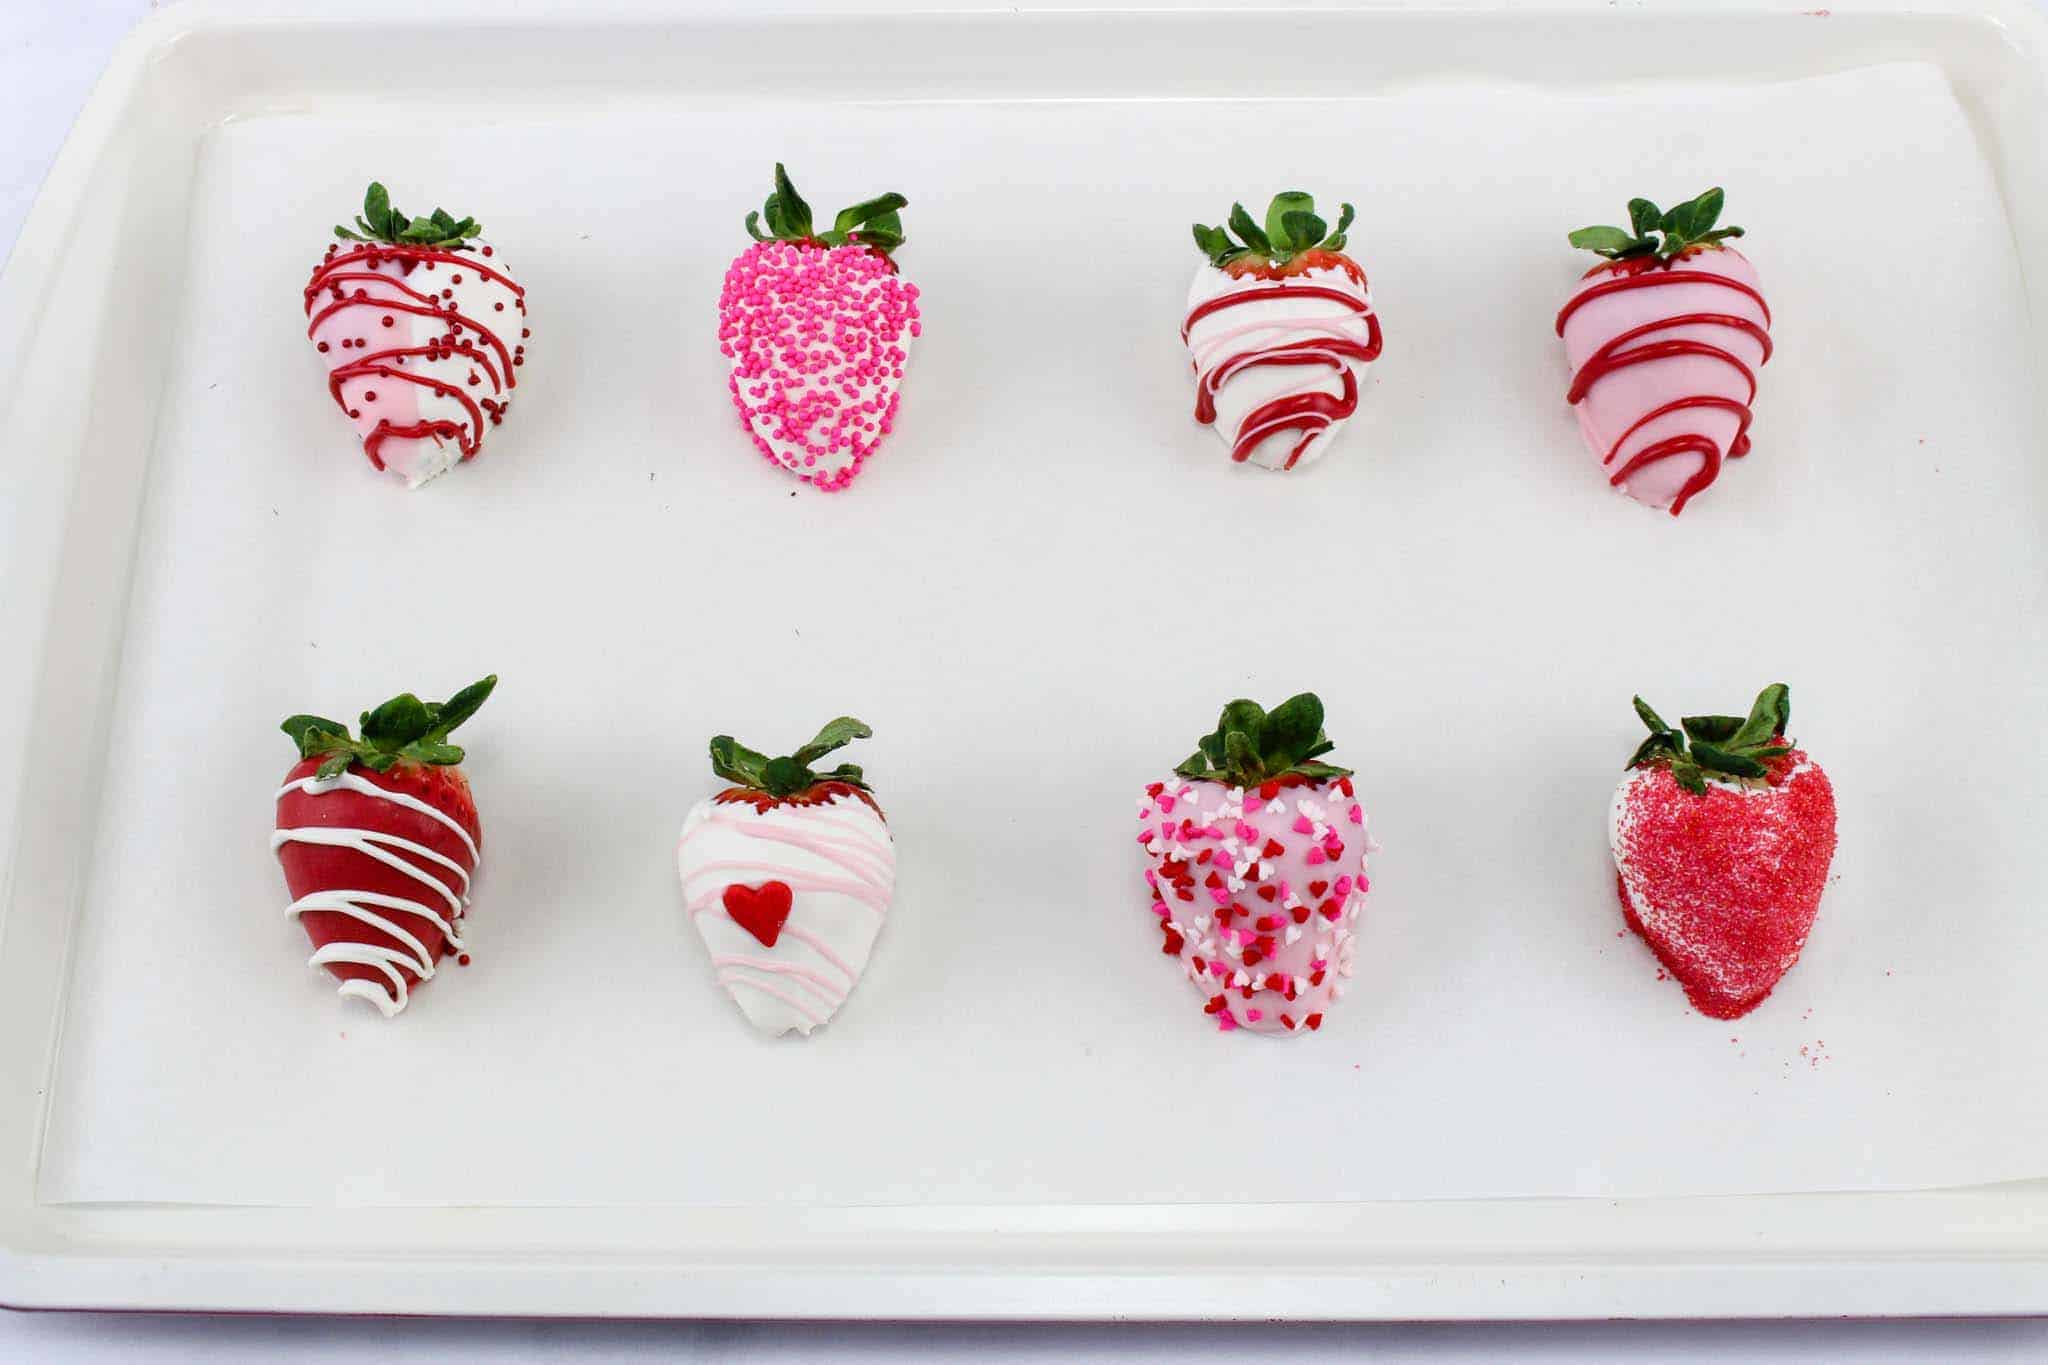
You can also dip some plain and then drizzle a different color of chocolate over it.
Have fun and create different looks.
Let dry and Enjoy!!
- Oreo Pops


Oreo Pops
1 x 154g Pack of Golden Oreos
250g White Chocolate
Red, Pink & White Sugar Sprinkles (at least 30g)
Essential Equipment
10cm (4″) Lollipop/Cake Pop Sticks
Instructions
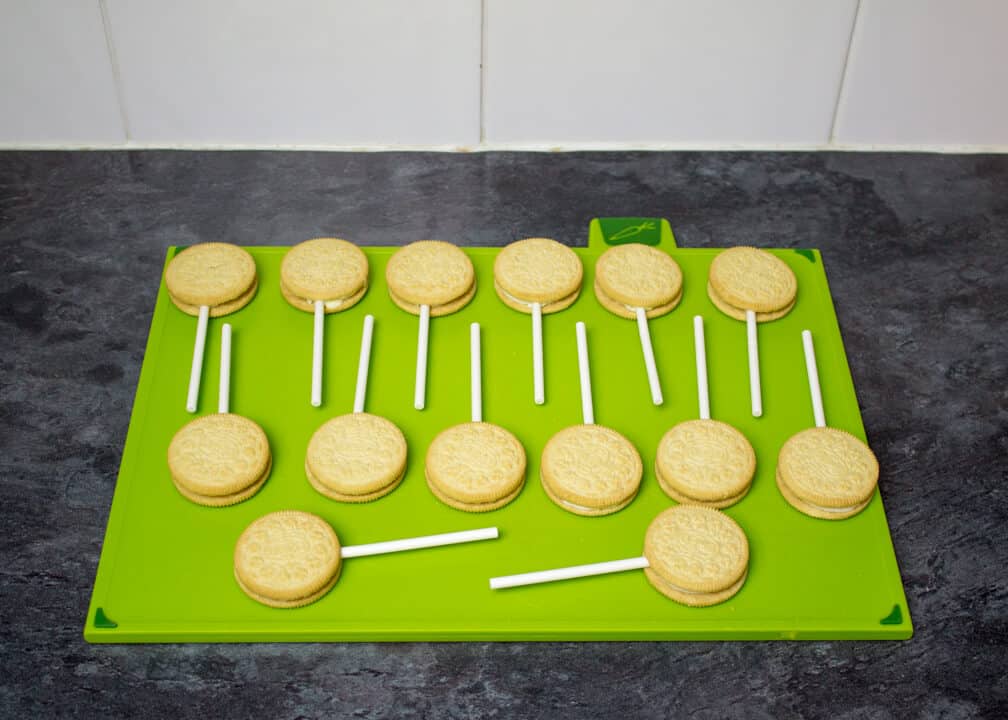
- Twisting all the Golden Oreos apart.
- Then break the chocolate into a microwavable bowl. Reduce your microwave’s power to half then heat the chocolate in 20 second intervals. Stir well between each time and repeat until your chocolate is melted and smooth.
- Now dunk a lollipop stick into the melted white chocolate & press it into the Oreo cream filling. Place the other Oreo half on top (with the white chocolate acting as a glue) then place on a baking tray/chopping board.
- Repeat the process until all of the Oreos have been ‘glued’ back together with their new lollipop sticks.
- Pop the tray/board into the fridge for 15-20 minutes to allow the chocolate to set completely before we move onto the next step.
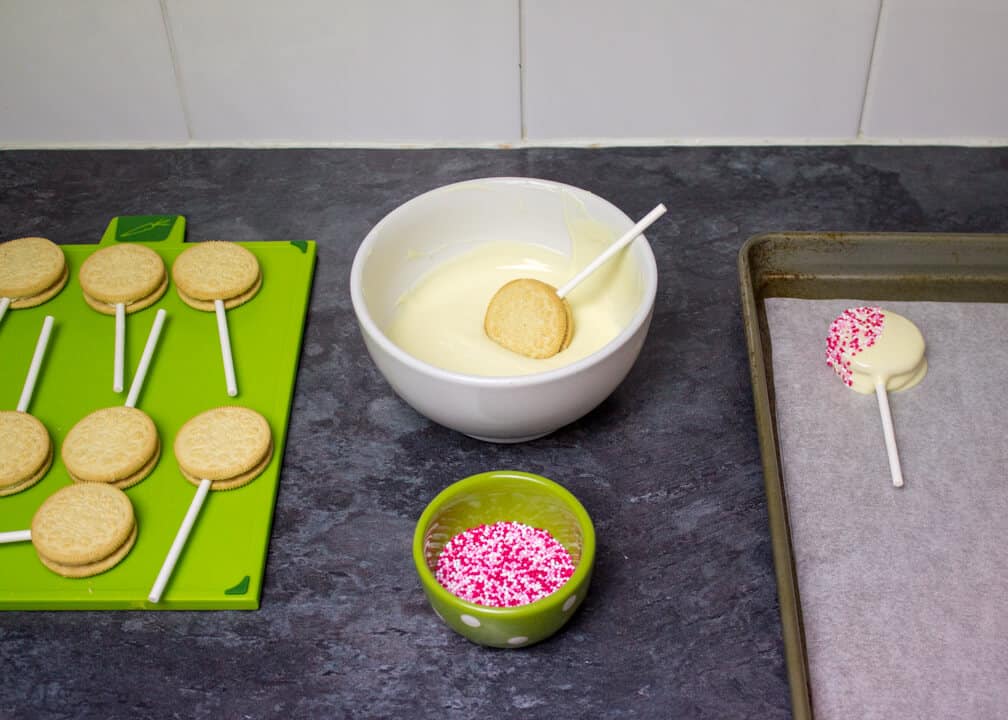
- When the white chocolate ‘glue’ has set, you are ready to decorate! Get a large baking tray lined with baking paper ready & set to one side.
- If you need to, pop the white chocolate back into the microwave and heat on half power in 20 second intervals until smooth & melted again.
- To Decorate
- Now all you need to do is dunk each Oreo Pop into the white chocolate and shake of any excess. Then dunk a side into the sprinkles and place onto your prepared baking tray to set.
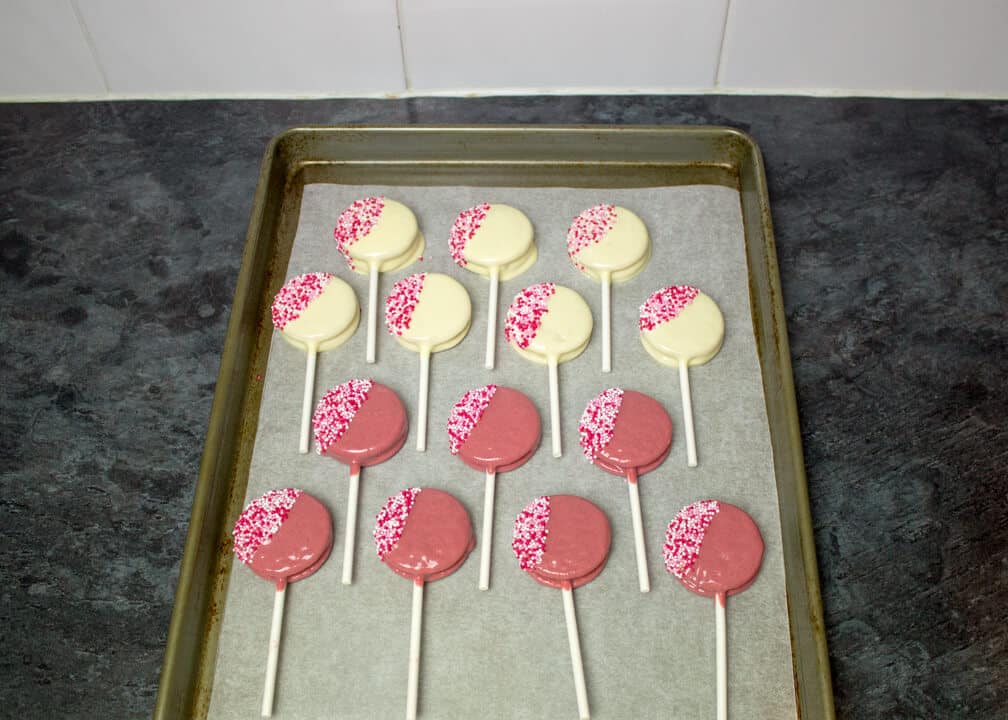
- Repeat until all the Oreo Pops have been covered in chocolate/sprinkles.
- Allow them to set at room temperature. Once set, peel off the baking paper and store at room temperature in an airtight container. Consume within 2 weeks.


